
Firebase is a Backend-as-a-Service BaaS own by Google. It frees both mobile and web application developers from writing APIs, managing servers, and worrying about data store. Just focus on your application and Firebase will do the rest for you.
In this article I will walk you through building an ionic 3 shopping cart app leveraging on Firebase Real Time Database.
Setting up Firebase and Ionic Project
The first thing is to setup the firebase project for the app. Head on over to firebase console and click "Add new project". Give the project a name, i have named my own "ionic-firebase-cart" then click "Create Project Button"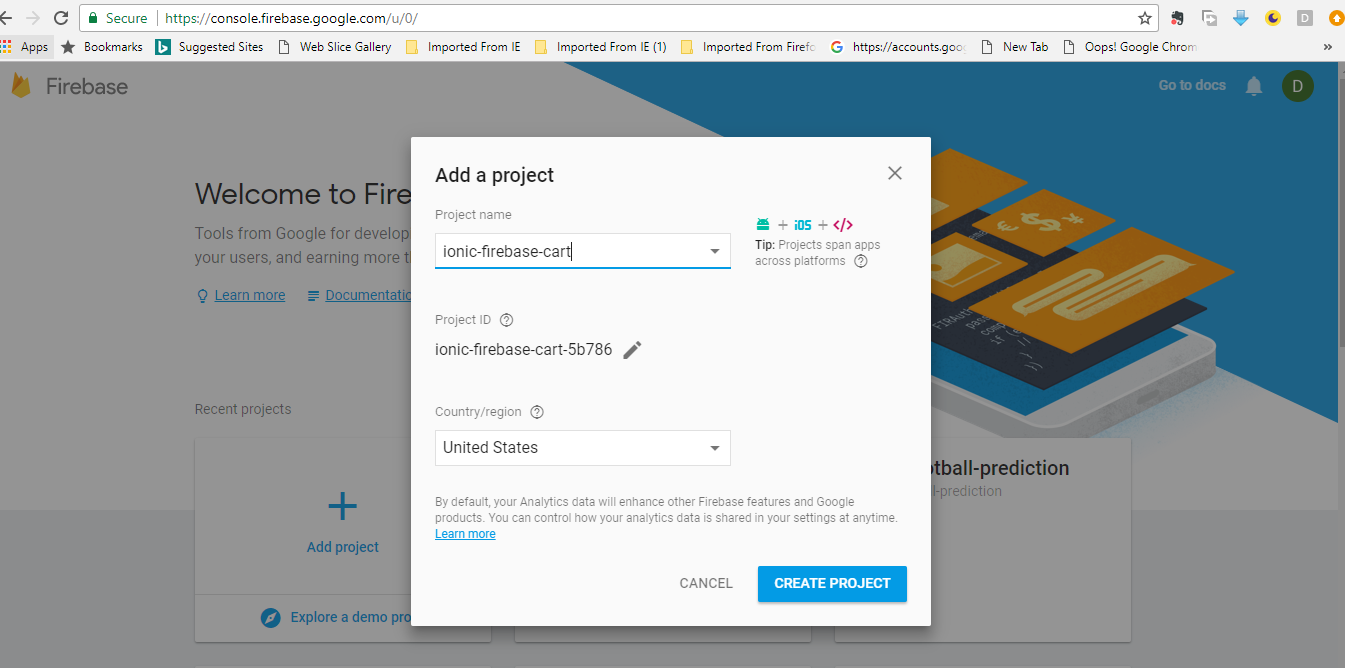
You will now be presented with the screen below.
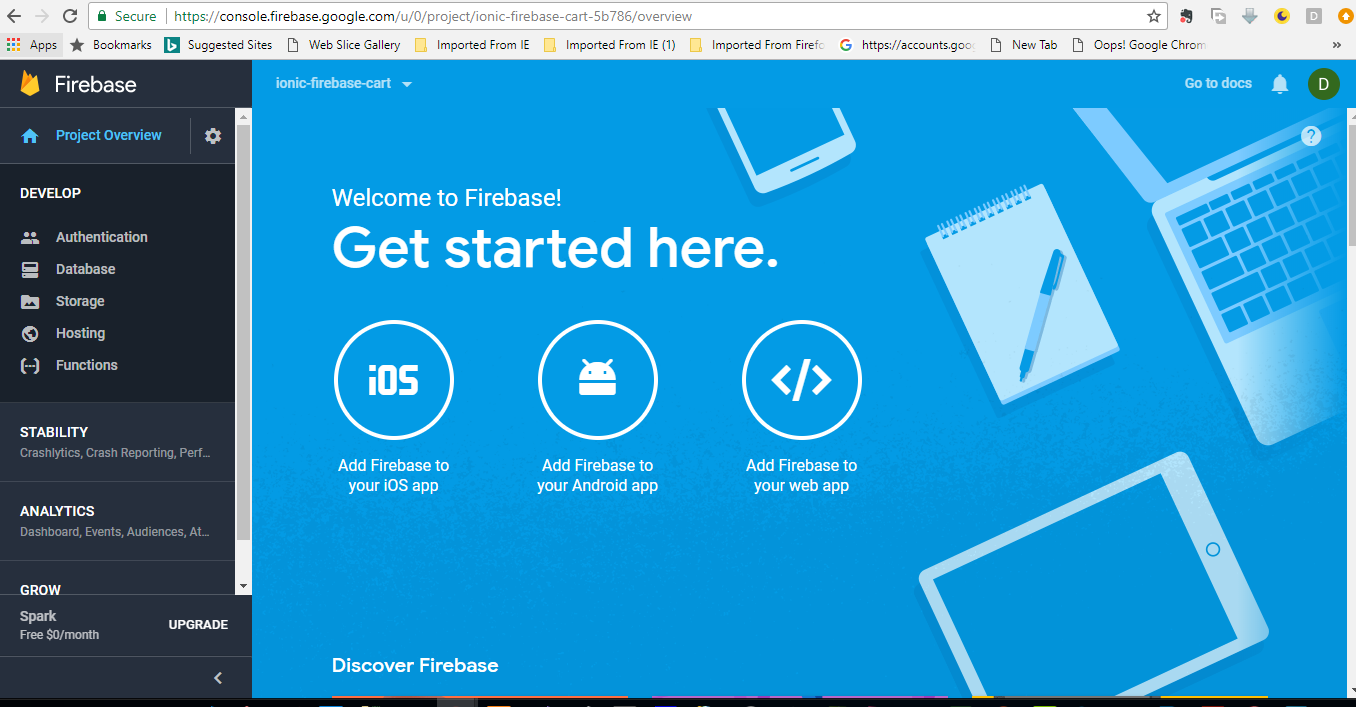
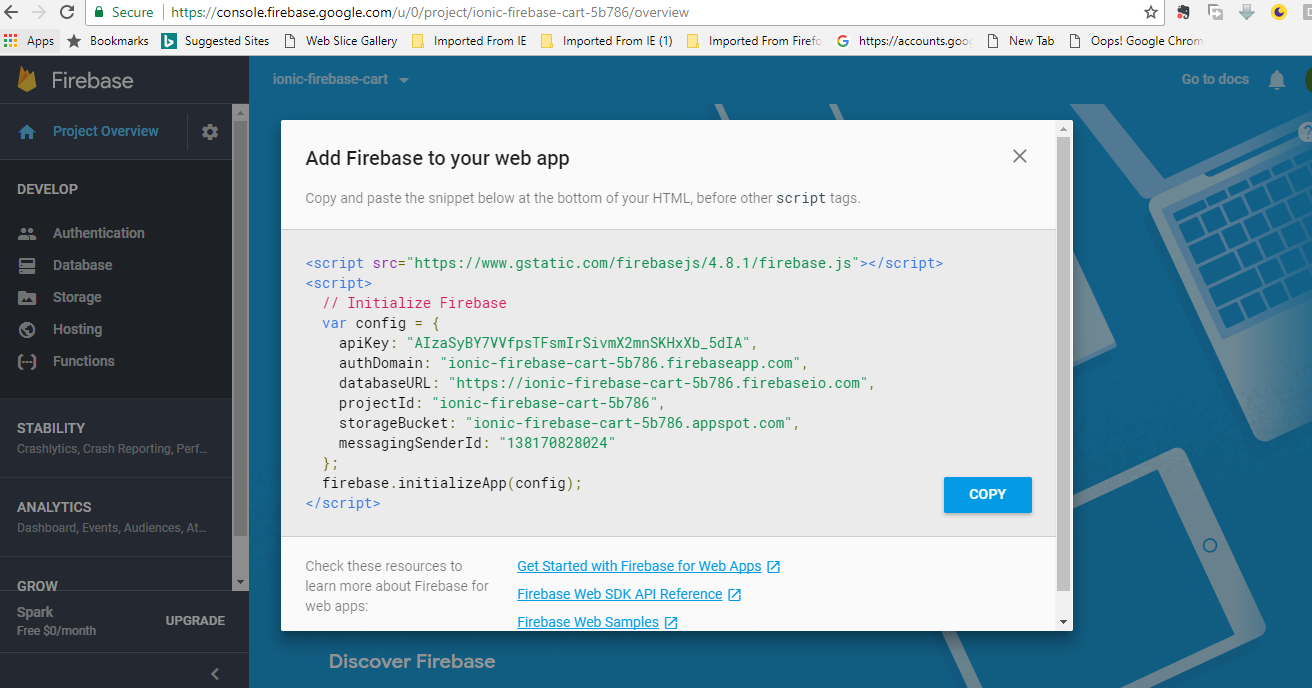
Click on "Add Firebase to your web app" and copy the snippet provided into a text file as we will be using it in our ionic app shortly.
Creating the ionic app
Now that we have setup the firebase project we are ready to move on to creating the Ionic app. Start by running the following command in your console:ionic start ionic-firebase-cart sidemenu cd ionic-firebase-cart
The next thing is to install firebase sdk by running this command:
npm install --save firebase
Adding the Firebase Project Settings
Open up the snippet you copied from firebase console. Open up your new ionic app you just created in your favorite text editor - I use Visual Studio Code. Navigate to /src and create a folder named config so that you have /src/config, then create a new typescript file in the config folder named app.config.ts and add your firebase project settings. You final app.config.ts file should look like this:export const config = {
showCategory: true,
firebasConfig: {
apiKey: "AIzaSyCW7hssvB3b1qpR6VLNb-eGOhX12P-oAuU",
authDomain: "ionic-firebase-cart.firebaseapp.com",
databaseURL: "https://ionic-firebase-cart.firebaseio.com",
projectId: "ionic-firebase-cart",
storageBucket: "ionic-firebase-cart.appspot.com",
messagingSenderId: "539859030676"
}
};
Now we need to initialize firebase from within the app's app.module.ts, so navigate to /src/app/app.module.ts. First we need to import the config and firebase, then add them to the imports in the app.module.ts like so:
import { config } from './../config/app.config';
import * as firebase from 'firebase';
We now need to initialize it like so just on top of the @NgModule decalaration:
firebase.initializeApp(config.firebasConfig);

@NgModule({
  declarations: [
    MyApp,

  ],
Good, we are set and our Ionic App is now know how to talk to our firebase project.
Downloading Resource File
I have setup some dummy products images and also have created a json database for this tutorial.For you to follow along, download the files from here.
The downloaded files structure should look like so:

How to use the Resource Files
Copy the three folders - Categories,products and sliders into the \src\assets\imgs. The structure should look like so:
The "ionic-firebase-cart.jon" is the firebase database that we will be using. Login to your firebase account and select database, in the top right click "Import JSON"
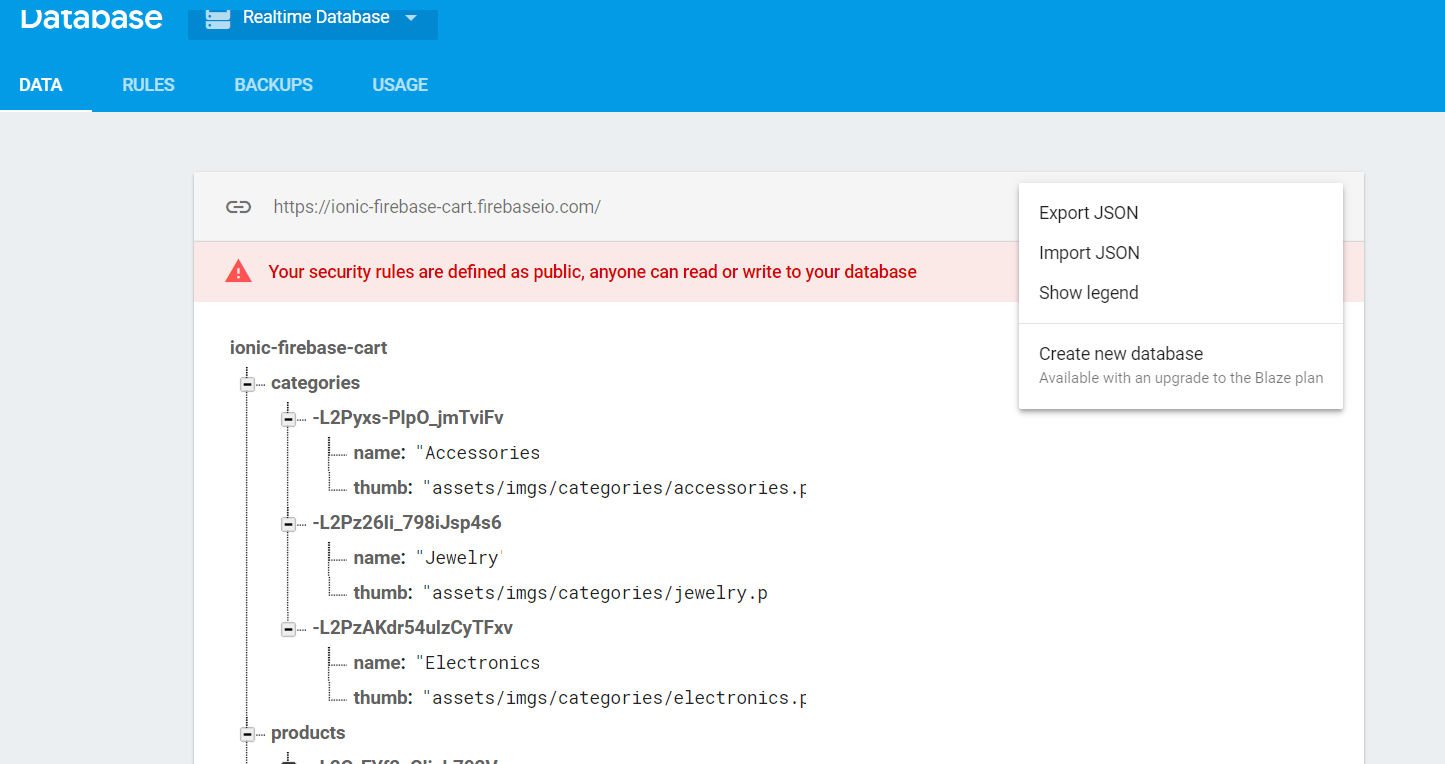
In the modal that will be presented, browse and choose the file and click "Import".
Now that you have done all these, in the second part of this article we will dive int coding our shopping cart application.
See you in the next part.
Second part ?
ReplyDelete